Aster arbustiu
Contingut:
L’article presenta l’aster arbust: fotos, característiques, descripció, normes de plantació, cura, reproducció.
L'aster arbustiu és una planta perenne amb flor que pertany a la família Symphyotrichum, originària d'Amèrica del Nord. El període de floració de l'aster arbustiu cau a la tardor (de vegades a la primavera), quan moltes flors del jardí ja estan acabant la seva floració. Això us permet crear composicions florents espectaculars en un moment en què es torna ombrívol i grisenc. La varietat de colors d’aquesta planta perenne pot transformar qualsevol espai que l’envolta.
Aster arbustiu: descripció i característiques
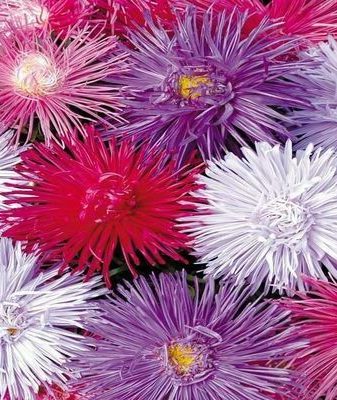
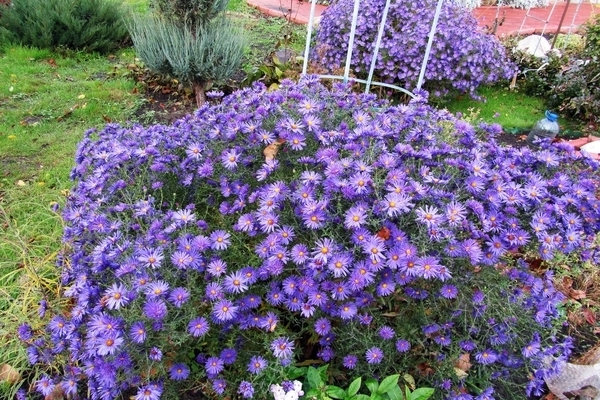
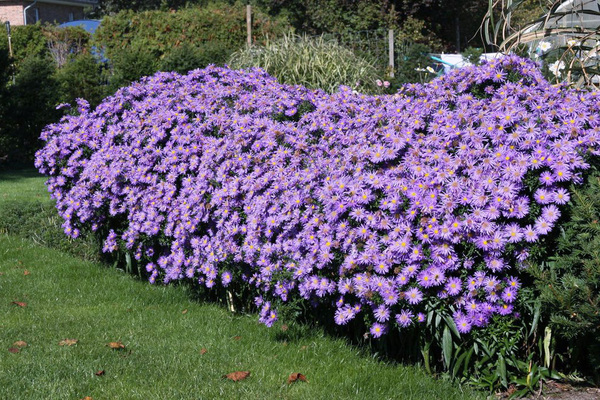
Arbust aster perenne: foto de flors
L’aster arbustiu s’ha estès per tot el territori del nostre país i és més popular al centre de Rússia. Això es deu al fet que aquesta planta perenne és una planta bastant sense pretensions, que tolera tranquil·lament els nostres hiverns, però que exigeix la quantitat d’humitat del sòl (que només coincideix amb les normes climàtiques mitjanes del clima temperat de Rússia).
El període de floració de l'aster arbustiu depèn de la varietat específica i pot ser a la primavera o la tardor. Malauradament, no totes les varietats tenen temps de començar a florir abans de l’aparició de gelades estables i, de vegades, es conreen pel bé d’un bon verd. Al cap i a la fi, aquest aster és un arbust d’una forma esfèrica molt atractiva que no necessita ser ajustat. Aquesta forma és inherent als asters arbustius a causa d'un sistema radicular fort i ramificat, del qual creixen moltes tiges, que arriben a la meitat d'un metre d'alçada. Les fulles de l’aster arbust són de mida mitjana, lanceolades, d’un to verd fosc, n’hi ha moltes a l’arbust, cosa que també crea l’efecte d’esplendor.
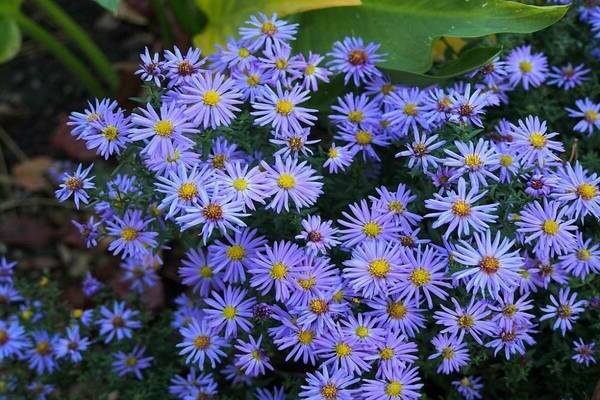
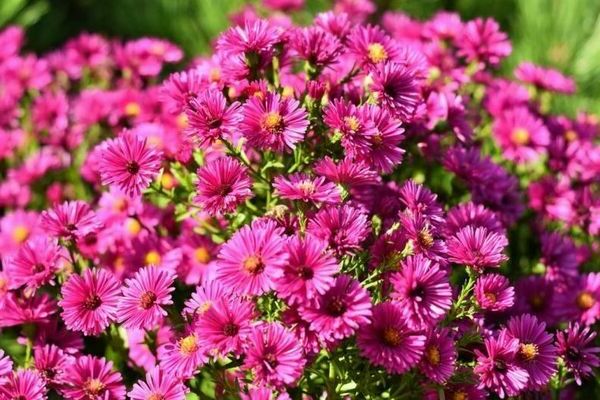
L’aster arbustiu té una gamma molt àmplia de colors, des dels vermells i blaus fins al blanc pur. Les flors es recullen en inflorescències corimboses, cadascuna d’uns 4 cm de mida.
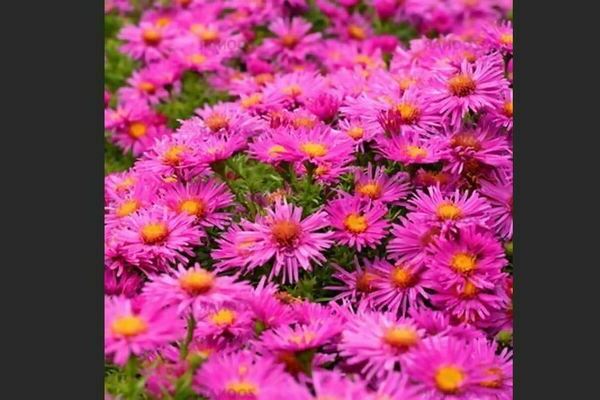
Aster arbustiu: espècies i varietats amb fotos i noms
Aquí teniu les varietats més populars d’arbustos aster, la bellesa de les flors que podeu observar al jardí abans de l’aparició del fred intens:
- Alice Haslam (Kustarnikova astra Alice Haslam)
Aster arbustiu: foto de flors
És un arbust de poc creixement, d’uns 30cm de longitud. El període de floració és la primera part de setembre a finals d’octubre. El color de les flors és lila.
- Aster arbustiu Blau Lagoon
Arbust perenne aster Blau Lagoon: foto de flors
Arriba a mig metre d’alçada. El període de floració de l’aster arbust de la llacuna Blau és la segona dècada d’agost, abans de l’aparició de gelades estables. El color de les flors és porpra, lleugerament blavós, amb un diàmetre d’uns 3 cm.
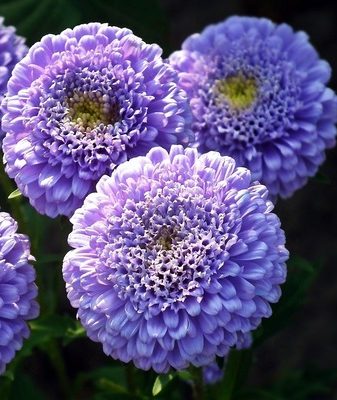
- Aster arbustiu Dama de color blau
Arbust aster Lady en blau: foto de flors
Un híbrid amb alta resistència a diversos tipus de malalties. L'altura de l'aster arbust Lady in Blue és d'aproximadament 40cm. El període de floració és la segona dècada d’agost i la segona dècada d’octubre. Les flors són de mida mitjana, blaves.
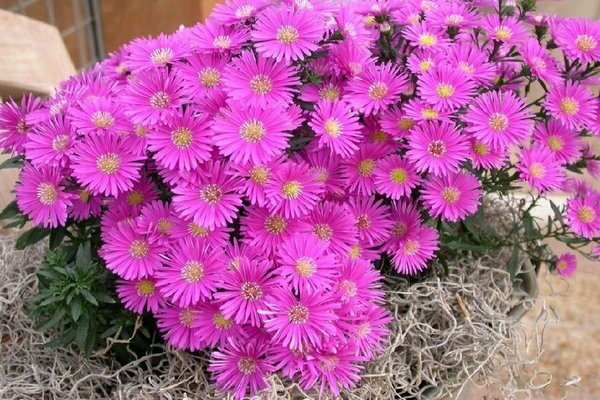
- L'aster arbust de Jenny
Arbust de Jenny: foto de flors
L’aster arbust perenne de Jenny té una varietat de floració llarga (d’agost a octubre) que arriba als 40 cm d’alçada. Les flors són mitjanes, nombroses. El seu color és rosa-carmesí, amb un nucli groc.
Els asters arbustius de Jenny són adequats per al cultiu en zones rocoses i tobogans alpins. Les flors es poden utilitzar per tallar.
- Bush aster Schneeckissen
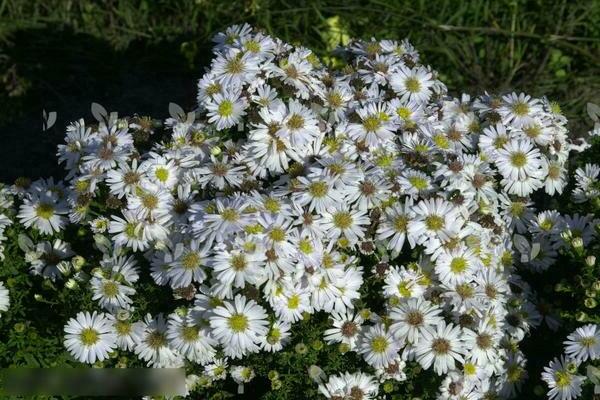
Aster arbustiu Schneeckissen: foto de flors
Varietat molt reduïda molt ramificada, brots de no més de 25 cm de llargada. Les flors són petites, aproximadament de mig centímetre. El color de les flors és clar, més proper al blanc, amb un nucli groguenc. El període de floració és de setembre a octubre.
Arbust aster perenne: plantació i cura
Aster arbustiu: foto de flors
L’aster arbustiu és una planta bastant sense pretensions que no requereix una cura excessiva, però que encara té algunes característiques de cultiu.
Per plantar aquest tipus d’asteres, és millor triar una zona prou il·luminada, però sense exposició directa al sol. El sòl d’aquest lloc no ha de ser pesat i l’estructura del sòl ha de ser fluixa i ben drenada.
Si l'aster es planta en un lloc ombrejat, això afectarà negativament l'abundància de la seva floració.
No li agraden aquest tipus d’aster i zones humides inundades. A partir d’un excés d’humitat es pot produir la podridura de l’arrel, que en última instància condueix a la pèrdua de la planta.
Aquest punt també s’ha de tenir en compte a l’hora de determinar les taxes de reg, perquè l’aster tampoc no tolera la sequera.
La zona sobre la qual es preveu cultivar àsters s’ha de determinar i preparar amb antelació, a la tardor. La zona seleccionada està excavada i el sòl s’omple de compost o humus (2-3 kg per 1 m?).
Amb l’aparició de calor, la parcel·la preparada a la tardor es pot calcificar, això té un efecte beneficiós sobre la durada de la floració de l’aster i també ajudarà a mantenir la planta sana.
Per dur a terme el procediment de calç, necessitareu 100 g de calç per a 3-4 galledes d’aigua. La solució resultant s’aboca al terra fins a la profunditat a la qual es plantaran els astres.
El encallat tampoc no és dolent dur a terme en les temporades següents després de la sembra, a la primavera i la tardor.
Després del calat, el sòl s’anivella, es redueix i les plantes es planten directament. És millor fer-ho amb l'inici del vespre, deixant espais entre 35-40 cm entre les plantes plantades.
Fins i tot un jardiner novell no tindrà dificultats particulars a l’hora de tenir cura de l’aster perenne. Els àsters necessiten reg moderat, afluixament posterior del sòl i eliminació oportuna de males herbes.
A més, per augmentar el creixement del sistema arrel, heu d’acoblar l’arbust fins i tot abans que comenci a ramificar-se.
Per mantenir la bella forma esfèrica de l’arbust, és millor plantar la planta en llocs tranquils. En cas contrari, caldrà lligar-lo. La lliga es pot fer estirant la corda entre dos suports (per exemple, clavilles). També és necessària una lligacama per a les varietats altes d’aster arbustius (quan les plantes arriben a superar els 80 cm d’alçada).
A mesura que les flors s’esvaeixen, s’han de tallar, cosa que estendrà el període de floració de l’aster.
L’alimentació oportuna no serà superflu per a un aster perenne.
Si, abans de plantar l’arbust a terra, ja heu introduït fertilitzants al sòl, l’aster necessitarà la primera alimentació només un any després de la sembra. I si no, podeu alimentar la planta poques setmanes després de la sembra.
Com a apòsit, podeu prendre un fertilitzant especialitzat per a flors, que equilibrarà correctament totes les substàncies que la planta necessita.
L'aster també és sensible a l'aplicació de fertilitzants de fòsfor durant el desenvolupament dels cabdells, així com durant la pròpia floració.
Es requerirà un altre vestit superior a la primavera. Aquesta vegada, una barreja de superfosfat, nitrat d’amoni i sulfat de potassi (en una proporció de 3: 2: 1) donarà un bon resultat. Aquest apòsit s'ha d'aplicar en sec, seguit d'un reg. Una excepció serà el temps sec, en aquestes condicions encara és millor dur a terme una alimentació líquida.
Quant a la reproducció dels asters arbustius perennes
L'aster arbust es pot propagar de diverses maneres: mitjançant llavors, esqueixos, capes verticals i també dividint la mata. Si voleu aconseguir la floració primerenca possible, podeu utilitzar la plantació mitjançant plantules.
Propagació mitjançant llavors
Aquest és potser el mètode més laboriós i que consumeix temps. Però, d’altra banda, com a resultat, rebreu material de plantació absolutament sa.
Per plantar les llavors d'aster arbustius, primer s'han de conservar en una solució fungicida (durant 5-10 minuts). Les llavors d'aquesta manera es preparen acuradament a la superfície del sòl en recipients preparats prèviament. Des de dalt, les llavors es cobreixen amb una fina capa de sorra calcinada. El recipient amb les plantacions es cobreix amb vidre o paper d'alumini, creant les condicions d'hivernacle necessàries per a la germinació.
Hi posen mini hivernacles on els raigs solars els cauran. Regar les plantacions segons sigui necessari. També és necessari airejar les plantacions diàriament obrint-les.
Les plàntules haurien d'aparèixer en 5-6 dies, i després s'hauran de regar amb menys freqüència. Després de la formació del primer parell de fulles veritables, és millor plantar plantes joves en recipients individuals, això millorarà significativament el creixement de les arrels.
Per a això, els contenidors s’omplen de terra, es vessen i, quan s’absorbeix l’aigua, es planten les plàntules aprofundint fins a les fulles de cotiledó. Després d'això, heu de regar la planta de nou i deixar-la en un lloc il·luminat, però evitant l'exposició a la llum solar directa.
A mesura que creixen les plàntules, s’han de fertilitzar amb el mateix fertilitzant complex per a les flors. Després d’un arrelament fiable, cal temperar gradualment els contenidors amb plàntules traient-los a l’aire lliure (balcó, porxo, carrer).
Reproducció dividint l’arbust
Aquí necessitareu còpies que hagin complert els 4 anys o més.
L'operació s'ha de dur a terme a la primavera, fins i tot abans de la ruptura de brots.
La planta està excavada amb cura, també s’elimina el sòl i s’eliminen les parts massa antigues de les arrels. La mata es divideix en parts de manera que cada una de les noves formacions tingui tres tiges i arrels completament desenvolupades. Tots els exemplars obtinguts s’han de trasplantar a nous llocs, ja que el període durant el qual l’aster arbust creix sense problemes a la mateixa zona és d’uns 5 anys.
Reproducció mitjançant capes
Aquí, també necessitareu plantes adultes i fortes que hagin estat ben cuidades (es va dur a terme una alimentació oportuna).
Les plantes a partir de les quals tenen previst rebre capes, després del final de la floració, es tallen a una alçada de fins a 10 cm. Després que la neu es fongui, els arbusts tallats s’escampen i els cobreixen completament de terra. S’ha de fer fins que l’alçada de l’arbust no superi els 25cm. Després de l’esforçament, totes les mesures de cura adoptades no són diferents de les habituals.
Al final de la tardor, abans que les temperatures de l’aire siguin negatives, cal desenterrar les plantes preparades prèviament i desconnectar les capes arrelades de nova formació. Les capes resultants es poden plantar immediatament al lloc designat per a elles. A la primavera, les plantes tornen a ser espudades i després utilitzen els mètodes de cura que ja coneixem. Les noves plantes d'aster arbust que utilitzen aquest mètode de propagació us delectaran amb la seva floració de mitjana al cap d'un parell d'anys.
Tallar asters arbustius
Aquest és el mètode de cria més utilitzat per a plantes perennes.
Es basa en la separació dels esqueixos (parts de la tija) de la planta mare, amb la seva posterior plantació en condicions d’hivernacle per a la formació d’arrels.
Els esqueixos es tallen de la planta mare en un angle i es tallen des de dalt fins al nivell del primer brot. El tall resultant s’ha de deixar a la solució estimulant del creixement durant 15 hores. I després, fins al moment del desembarcament a l’hivernacle, s’emmagatzema a l’aigua. El sòl on es plantaran els esqueixos hauria de tenir la composició següent: 2 parts de torba, 2 parts de sorra, 1 part de terra sòlida i, damunt, aquest compost s’escampa amb perlita o una barreja de vermiculita i sorra.
En la composició del sòl preparada, els esqueixos es planten en un angle, aprofundint-los 10 cm. La distància entre els esqueixos plantats ha de ser d’uns 5 cm.Ja 30 dies després de plantar els esqueixos, arrelen bé, formant arrels desenvolupades.
En conclusió, cal assenyalar una vegada més que els asters arbustius no comporten gaire problemes per al seu propietari, es poden propagar fàcilment, cosa que significa que hi ha d’haver un lloc al jardí de tardor per a aquestes belleses, que ens delectin amb els seus colors vius durant el marciment general de la natura.
Arbust aster perenne: vídeo sobre les flors